This tutorial is for anyone writing editor UI’s – e.g. Custom Inspectors, EditorWindows, etc – using Unity’s new UIElements/UIToolkit. Make sure you’ve read the previous articles on core concepts and how to access the root container/VisualElement.
(NB: UIToolkit doesn’t work properly with Unity’s own TextMeshPro/3D rendering/animation/editing/etc, so for in-game UI I recommend Flexbox4Unity instead (unlike UIToolkit, Flexbox4Unity is integrated with UnityUI and supports all of the Unity3D core features). Both systems are based on Flexbox, so they are very similar.)
Setup
All the code examples below assume you already have a reference to your main VisualElement (see the previous articles for how to get this for EditorWindow, or for custom Inspector/Editor – it’s different for each), and that you’re passing that into a method e.g.:
public void BuildUI( VisualElement root ) { ... }Buttons
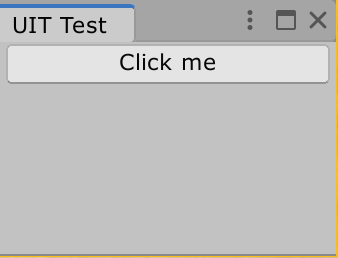
Unity provides a button class, which we’ll look at here – but note that in many cases you may prefer a Clickable Label instead (they’re easier to work with, and require less styling/customization to make them look good). For basic cases, a Button ‘just works’ out of the box, so it’s a good starting point.
And, as we’ll see below, it’s possible to create the button, add it to the screen, and setup the callback method all in a single line of code.
Create and add your button
Note that the constructor doesn’t accept the button-text, you have to specify it using the .text field:

A clickable button
To execute a callback when the button is clicked it gets complicated.
At this point UIToolkit’s Button class behaves differently from all other UIToolkit elements. It has a custom feature called “Manipulators” (not yet documented by Unity, probably avoid using if possible since Unity already has better systems for this), which allow you to write old-style Unity code for a button-click, using “+=” and a lambda. But because of that “+” you cannot directly assign to the field, and have to do it as an extra line of code:

Fortunately Unity provided a workaround to avoid us haveing multiple lines of code: you can also pass the lambda into Button’s contstructor:

A minimal button, created add added in a single line of code (without creating a temporary variable), then looks like this:

That’s really nice for prototyping! Very easy to edit (you can even put the { braces } on one line, and make it into a pure one-liner:

An alternative to Buttons: Clickable Labels
If you want a good, modern, UI, then you need a lot more than a gray, ugly, button. For example here’s a quick EditorWindow I made using Flexbox. Note the “Tutorials”, “Features”, and “Help/Support” labels – each one is clickable:
…when you move the mouse over each Clickable a coloured line moves underneath it to show you which one you’re clicking on (and a different colour shows which one is selected).
You can do this with Buttons, but first you have to ‘un-style’ them to turn them back into a basic item (and you have to remove all their custom padding, margins, etc). For simple cases it’s often quicker just to take a basic Label and make it Clickable. — Tutorial: Clickable Labels