This tutorial is for anyone writing editor UI’s – e.g. Custom Inspectors, EditorWindows, etc – using Unity’s new UIElements/UIToolkit. Make sure you’ve read the previous articles on core concepts and how to access the root container/VisualElement.
(NB: UIToolkit doesn’t work properly with Unity’s own TextMeshPro/3D rendering/animation/editing/etc, so for in-game UI I recommend Flexbox4Unity instead (unlike UIToolkit, Flexbox4Unity is integrated with UnityUI and supports all of the Unity3D core features). Both systems are based on Flexbox, so they are very similar.)
Setup
All the code examples below assume you already have a reference to your main VisualElement (see the previous articles for how to get this for EditorWindow, or for custom Inspector/Editor – it’s different for each), and that you’re passing that into a method e.g.:
public void BuildUI( VisualElement root ) { ... }Clickable Labels (make any VisualElement clickable)
Create a normal Label:

And use the UIToolkit standard ‘callbacks’ system to get a callback when it’s clicked:

NB: this does not work exactly the same as a Button – it processes as soon as you press down, where a Button waits for you to also let go of the mouse-button while still hovering over the Button object. Sadly there is no MouseDownUpEvent in UIToolkit (yet; hopefully they’ll add one soon) – but for most cases this is good enough. And it lets you do the next set of tricks…
Your label is now functioning like a basic Button!
Interactable Labels: hovering/mouseover/rollovers
The callback system has a good set of other events too. We can register two callbacks, one for mouse OVER (mouse hovers over the label), and one for mouse OUT (mouse moves away from the label):
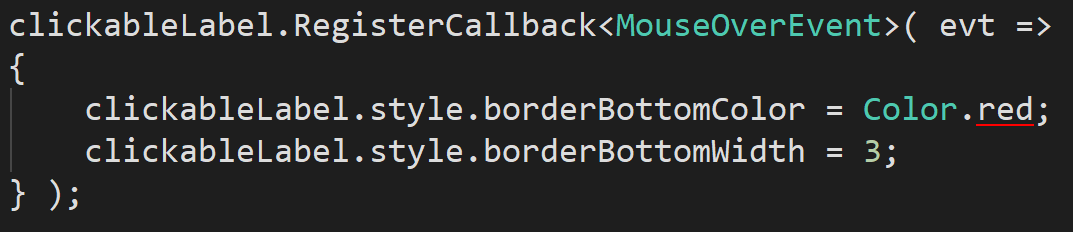

Here I created three in a row, and used a different colour for each rollover:
This same technique allows you to quickly build a custom TabbedWindow inside UIToolkit, with modern HTML/CSS look and feel: